Thank you for visiting the AUSTRALIA HP Store
-
Contact Us
CONTACT USCall us
- Sales
- 1300 540 516
- Technical support
- 13 23 47
Exc. public holidays
Chat with us- Our specialist are here to help
- Live Product Demo
- Sales
- 61288061500 (WhatsApp)
-

- Post Sales
- 61288061700(WhatsApp)
Exc. public holidays
Live product demo
Submit feedback We value your opinion! - My Account
Tech Takes

-
Posted: December 18, 2025Categories: LaptopsRead more »
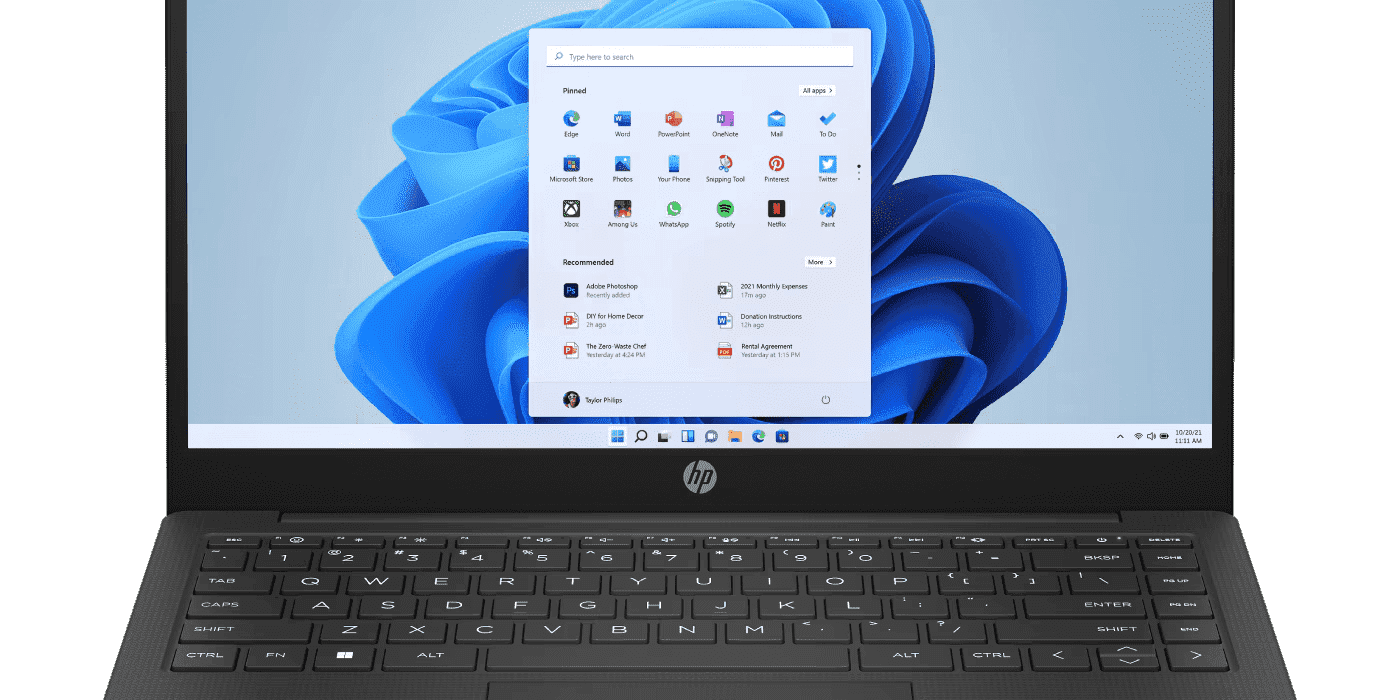
The OmniBook laptop family offers a unified lineup of laptops designed for students, professionals, creatives, and tech enthusiasts alike. For Australian consumers navigating the ever-evolving technology landscape, the OmniBook series provides a simplified approach to finding the perfect laptop. The series, which includes OmniBook 5, 7, Ultra, and X, blends HP's modern design language, impressive hardware performance, and advanced AI capabilities into a single flagship product line.
Whether you're searching for a laptop to help you get through university, launch a business, or handle day-to-day tasks at home, the OmniBook line has a model suited for you. This HP OmniBook family guide for 2025 explains the core features of each HP laptop, compares specifications, and explores AI integrations like Copilot+.
What is the HP OmniBook Family?
The HP OmniBook family is a line of high-end laptops with options designed for all types of consumers, including models optimised for home users, students,
-
Read more »
Choosing the right business laptop in 2026 can be complex, particularly for Australian organisations navigating AI-driven advancements and the demands of hybrid work. Whether you’re based in Sydney, Melbourne, or working remotely across regional Australia, having the right technology is essential. At HP, we recognise that business leaders and IT teams require devices that combine performance, security, and adaptability without compromise. The HP EliteBook X G1a 14-inch touchscreen laptop and the HP EliteBook Ultra G1i rank amongst our premier AI PCs, designed in collaboration with partners like Intel, Microsoft, and NVIDIA. These laptops provide seamless performance for executives, consultants, and IT decision-makers who need devices that deliver value across business productivity, collaboration, and security. This guide compares the EliteBook X G1a vs Ultra G1i across specifications, AI capabilities, design, and cost-effectiveness to help you identify the right choice for your business
-
Posted: December 05, 2025Read more »
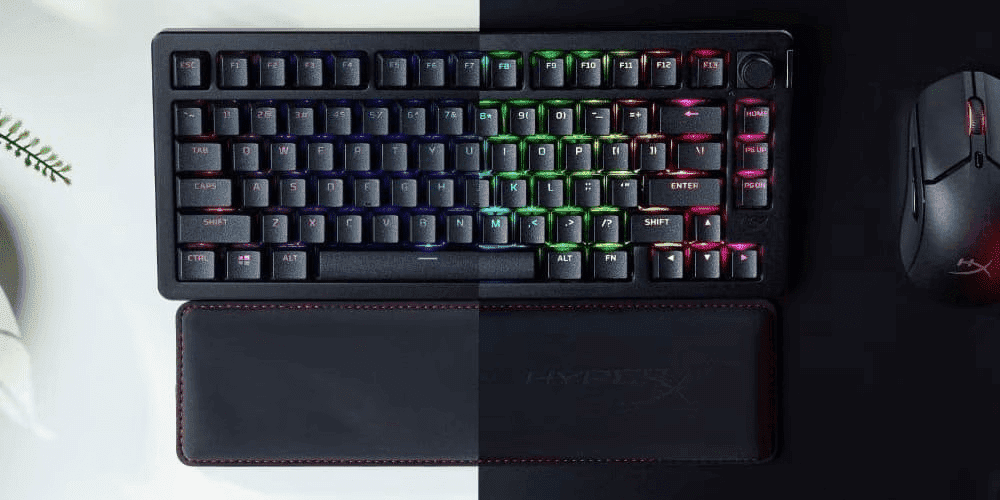
You don't just play first-person shooters—you dominate them. Every millisecond, every pixel, every micro-click matters in the intense world of competitive gaming. For Australian gamers looking to climb the ranked ladder in Valorant, Counter-Strike 2, Call of Duty: Warzone, or Rainbow Six Siege, victory isn't just about skill—it's about having the right peripherals that respond as fast as you think.
In Australia's rapidly growing esports scene, where gaming cafés in Sydney, Melbourne, Brisbane, and Perth are filled with aspiring professionals, having the competitive edge means investing in peripherals that deliver precision, speed, and reliability. This comprehensive guide explores the best HyperX gaming accessories—mouse, keyboard, and headset—that give Australian gamers the tools they need to dominate FPS games, whether you're battling through humid Brisbane summers or crisp Melbourne winters.
Why FPS Gaming Demands Specialised Peripherals
You wouldn't compete in a cricket match with substandard
-
Posted: December 02, 2025Categories: LaptopsRead more »
The new lineup of HP OmniBook college laptops in 2025 provides every student in Australia with the perfect companion for academic success. Whether you're pursuing engineering in Melbourne, medicine in Sydney, or liberal arts in Brisbane, HP's latest OmniBook Windows 11 laptops combine performance with features tailored for the Australian education system.
With the recent OmniBook rebrand, all HP consumer laptop models across different price points and features are now unified under a single product family. Beyond the streamlined naming, these laptops feature high-performance capabilities with integrated AI features like the HP AI Companion to help with fact-checking and research. From managing power-intensive tasks during varying weather conditions to handling the demands of coastal humidity, these devices are built to withstand Australia's diverse climate conditions whilst delivering consistent performance.
Each model in the OmniBook lineup brings something different to the table. This
-
Posted: December 02, 2025Read more »
Resetting BIOS on your HP laptop helps resolve performance issues, hardware glitches, and boot errors without touching personal files. Whether you’re in Sydney, Melbourne, or anywhere across Australia, if you’re wondering “how can I reset BIOS on your device”, this guide will walk you through when a BIOS reset is required, how to perform it, and provide helpful tips along the way. Rest assured, resetting the BIOS preserves your data and maintains system integrity, so your laptop remains secure and functional throughout the process.
-
Read more »
Whether you’re a university student preparing for exams in Melbourne, a freelance creative working from a café in Sydney, or an office professional in Brisbane, the HP OmniBook series provides the perfect portable computing solution for Australians. With various sizes and hardware configurations, this AI-powered series meets the needs of users from all walks of life across the country.
-
Posted: December 02, 2025Categories: MiscellaneousRead more »
Microsoft has announced that support for Windows 10 will end on 14 October 2025. After this date, Windows 10 will no longer receive feature updates, security updates, and technical support for Windows 10 will no longer be provided. For Australian users, whether you’re working from home in Brisbane or running a business in Perth, Microsoft recommends that users still on Windows 10 upgrade to Windows 11, and considering the new features this operating system offers, this upgrade makes practical sense.
-
Posted: December 01, 2025Categories: PrinterRead more »
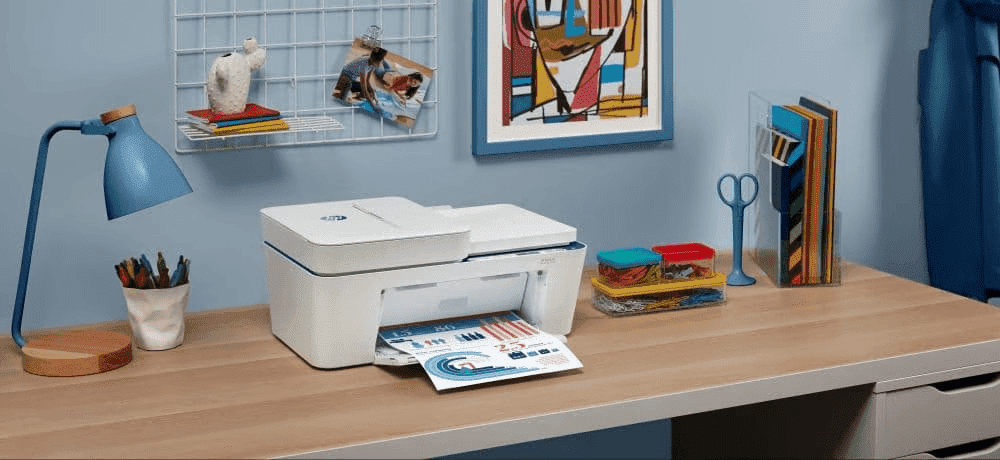
In 2025, printing from your iPhone shouldn't be complicated, especially for users managing everything greeting cards to important business documents. Whether you're a student needing to print assignments, a small business owner handling administrative tasks, or working remotely, AirPrint® printers make it simple to print directly from your device without the hassle of cable connections or complicated setups.
-
Read more »
This holiday season, why not align your gift-giving with your values? More than ever, we’re all seeking ways to make sustainable choices. Whether you're shopping for family or friends, eco-conscious tech gifts are a way to spread kindness to the planet and your loved ones alike.
-
Posted: November 08, 2025Categories: LaptopsRead more »
Choosing a laptop shouldn’t be this hard, but here we are, drowning in specs, confused by marketing, and wondering if we’re making the right choice. For Australian buyers navigating the laptop market, the search for value, performance, and reliability can feel overwhelming. If you’re looking for a straightforward answer backed by solid reasons, here it is: the HP OmniBook series delivers what most people actually need from a modern laptop. Let’s explore why, and more importantly, which model is right for you.
- Sales
- 1300 540 516
- Technical support
- 13 23 47
Exc. public holidays
- Our specialist are here to help
- Live Product Demo
- Sales
- 61288061500 (WhatsApp)
-

- Post Sales
- 61288061700(WhatsApp)
Exc. public holidays
Live product demo


