Thank you for visiting the NEW ZEALAND HP Store
-
Contact Us
CONTACT USCall us
- Sales
- 0800 854 848
- Technical support
- +64 9884 8600
Mon-Fri 9.00am - 6.00pm
(exc. Public Holidays)
Chat with us- Our specialist are here to help
- Live chat
Mon-Fri 9.00am - 6.00pm
(exc. Public Holidays)
Submit feedback We value your opinion! - My Account
How to Replace a Hard Drive and Reinstall an Operating System


If your computer experiences signs of hard drive failure, it’s best to replace it before it completely wears out. This gives you a chance to save the data stored on it, including your operating system. While it’s a more complicated repair than many consumers feel comfortable performing on their own, you can save money by doing it yourself.
In the following guide, we’ll explain the basic steps for how to replace a hard drive, as well as the best way to get the operating system up and running again. This guide works for both replacing a defective hard drive and for swapping out an outdated one for something with more space and speed.
1. Back up data

Before you do any of the steps involved with physically replacing the drive, back up everything it contains that you wish to keep, including:
- Programs
- Documents
- Photo and video files
- Music files and playlists
- Games and downloadable content (DLC)
You can do this by using the cloud to save hard drive storage via a backup service or by using an external data storage device. Take time to review what programs you want to keep, and assemble your original discs or data files for reinstallation on your new drive.
2. Create a recovery disc

To reinstall your Windows OS on your new computer, create a recovery disc that the computer can use to boot up the new, blank drive after it’s installed. You can create one by visiting the Windows website for your particular operating system version and downloading it to a CD-ROM or USB device.
Make sure you have enough free space on your storage disc or drive before starting, and that it is properly formatted according to Windows directions.
3. Remove the old drive

Make sure your computer is turned off and unplugged before starting. We also advise that you use an anti-static mat and wristband. This tool grounds both the computer and you, so that you don’t transfer any built-up static electricity to the computer’s delicate internal parts and possibly short them out. It keeps you from getting a zap, too.
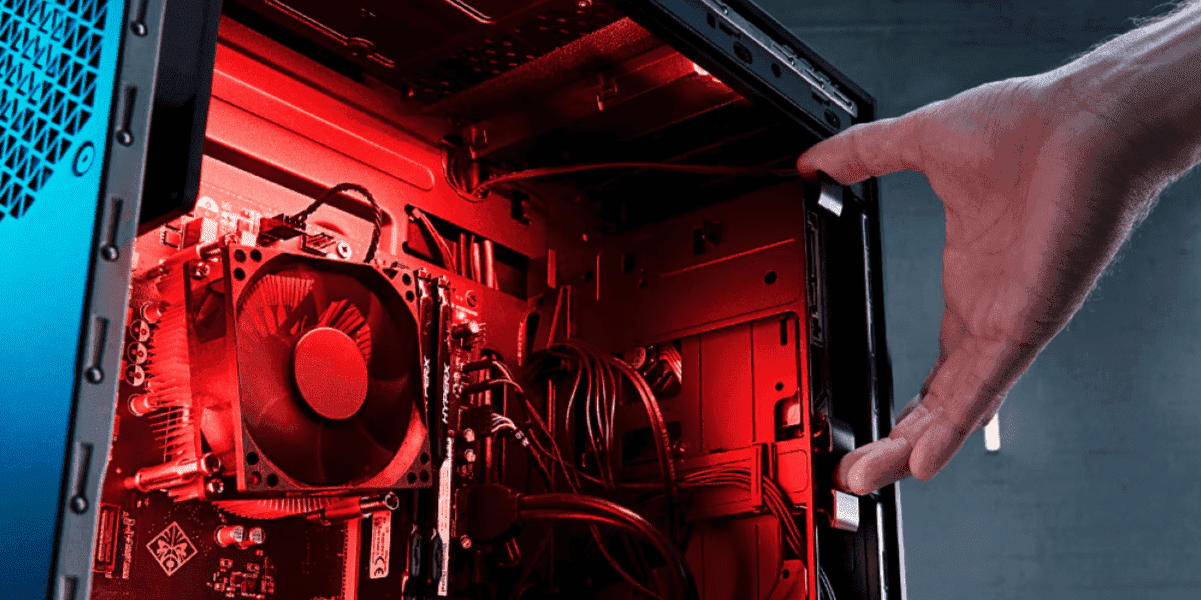
To begin the process, open the door on your computer case. This will vary by manufacturer. It is usually held in place by small screws or there may be a sliding mechanism.
After you and the computer are safely grounded, locate the hard drive and remove the power cables and data connectors from the drive itself.
Refer to the documentation for installing the new hard drive, and work backward to see how to disconnect the old hard drive from power and data connectors specifically. If you’re unsure, check for your specific brand of computer online.
There will usually be a set of small screws holding the drive into the case. Remove these next, and then pull out the hard drive from the computer case or bay with a sliding motion. While it’s not necessary to physically remove the disconnected old drive, many prefer to get it out of the way.
This frees up space in your computer case for other components down the road, such as a second hard drive. It also creates more air movement around the new drive. If you do choose to leave the old drive inside the computer case, make sure all of the connections remain disconnected.
4. Place the new drive

To put the new drive in, simply reverse the steps you already performed. Plug in the power connectors according to the new drive’s documentation, then follow up with data connection cords.
Depending on how short the connectors are, you may have to slide the drive into the bay first. A small flashlight can be helpful for seeing into the small space of the bay as you work. Replace the screws that hold the drive into the case, replace the computer case door, and you’re now ready to set up a new drive.
5. Reinstall the operating system

After you’ve finished with the physical portion of your hard drive replacement, and before you ever use it for the first time, you must properly format and partition the hard drive. This is a simple process for Windows users, but it must happen before anything else.
Fortunately, putting the operating system back on the computer performs these two steps automatically. Your OS will determine the exact steps, but for Windows 10 or Windows 10 Pro for HP computers and laptops, operating system installation involves the following steps:
- Get started by plugging in your PC and powering it on. For HP computers, press the "Escape" key repeatedly after startup.
- The startup menu will appear with an option to access the Boot Menu. Use the Boot Menu to tell the computer where to start from - either the USB or installation disk you created and inserted early on.
- Follow the prompts to partition, format, and install Windows onto your new hard drive. Most users can use the default settings and not customize anything at this time.
- You may be asked to restart the computer. The computer may also restart on its own several times before it’s finished. Allow a few hours for the process to complete, depending on your hard drive and OS.
- Once the computer has restarted for the final time and you see a Windows log-in screen, you’re ready to begin using your new drive.
Reinstall your programs and files
Now that you have Windows working on a new hard drive, you can start the process of putting the things you want back on the computer. Your cloud backup or external drive should be accessed by using the software it recommends to retrieve files.
Simply pick the files you want to restore and you’re good to go. You can also get just the basics at this point and continue adding things as you find them necessary over time.
Cloning your hard drive
Another option for putting your data onto a new drive is to “clone” your existing drive. Assuming that your hard drive failure is caused by a physical fault and not a software glitch or corrupted file, you can physically connect the old drive to the new drive. Use cloning software to transfer an exact copy of the data, operating system, and files to the new drive.
This is only recommended if you want a duplicate of your old drive, including the unnecessary files that can accumulate on your drive over time. Research cloning software to find a reputable option that’s best for your situation. Remember, if a hard drive fails for a digital reason, such as bad files, you should just start with a fresh, new drive.
Risks of installing a new hard drive

While many people succeed with this task, there are some pitfalls you need to know before you begin:
- First, if you aren’t sure how to research your specific hard drive or computer type and have never done any DIY computer work before, it can take time to get to know how your computer model is configured. Be patient with yourself.
- Not knowing what connection goes where and failing to secure your new drive properly can result in damage to the data you have stored as well as individual computer components. Research and follow the instructions. Don’t wing it.
- Remember that you should always work on an anti-static surface with the power disconnected because failing to ground your computer can cause data loss and electrical injuries.
- If you can follow directions and are competent in doing basic mechanical tasks, such as using a screwdriver and reading diagrams, upgrading your hard drive shouldn’t be difficult at all.
- The money you can save by doing it yourself can be in the hundreds of dollars in labor costs.
- It’s a good idea for anyone who wants to learn more about how their computers can be maintained at home to take on this relatively simple DIY project.
Once you try your hand at this, it will probably give you the confidence to take on more complicated projects like building your own gaming computer. There’s a definite satisfaction knowing you accomplished a repair like this.
Now you can start thinking about adding another hard drive down the road. Many computer users have more than one drive. They use the second as a backup that’s contained safely in their computer’s case for when they need it. Let’s get started!
- Sales
- 0800 854 848
- Technical support
- +64 9884 8600
Mon-Fri 9.00am - 6.00pm
(exc. Public Holidays)
- Our specialist are here to help
- Live chat
Mon-Fri 9.00am - 6.00pm
(exc. Public Holidays)
