Thank you for visiting the THAILAND HP Store
-
Contact Us
CONTACT USCall us
- Sales
- 02-3536020
- Technical support
- 1800 294 207
- 6627873344
Mon-Fri 9.00am - 6.00pm
(exc. Public Holidays)
Chat with usMon-Fri 9.00am - 6.00pm
(exc. Public Holidays)
Store finder Locate our stores - Location
- My Account

Search
How to Fix DNS Issues and Improve your Internet Connection

Posted:
February 10, 2025
Categories:
Miscellaneous

There are few things more frustrating than using the internet and running into page-loading errors. Internet connection issues can lead to productivity losses and make it difficult to work and play. Often, connectivity problems are related to DNS issues. Here are the most common causes, along with the step-by-step instructions for fixing them.
The domain name system (DNS or “nameserver”) is a necessary part of accessing the internet. Ordinarily, you would type the name of a URL into your browser bar, and it would automatically connect to the intended site by translating your request.
But what happens when it doesn’t work as it should?
Contents
What is DNS?
DNS translates your typed instructions into the numerical IP code that corresponds to the web page you want. The internet server doesn’t actually understand our language. Instead it uses a numerical IP address system to know which sites to connect to and load on our browser. We can thank DNS for translating what we type into a numerical IP address that the DNS server understands.
If DNS isn’t working properly, you won’t be able to use web-connected services, such as your browser or email, despite your computer or router showing a working internet connection. The webpage may timeout, give you an error message, or even bring up a specific “DNS error” message.
Signs of a DNS error
If you don’t get a specific DNS error or message, how do you know if it’s a DNS issue causing your problems? Here are two things you can try to find out:
-
Type the numerical IP address directly into your browser. If the webpage loads, then your problem is DNS related. You can try with Google’s IP address: “172.217.4.46”
-
Perform a ping test by typing “cmd” into your Windows Start Menu search bar. Select Open Command Prompt. When the black box comes up, type in “ping 172.217.4.46” then wait to see the results. If all four pings come back successful, it may be a DNS problem.
Helpful tip: You can also find the numerical IP address for any website by performing a ping test. Repeat step 2, but when the black box comes up type one of these:
-
ping Amazon.com
-
ping Google.com
-
Or the site you want to test
Watch the ping test to see what IP address comes back in the results.
How to resolve DNS issues
Now that you’re convinced it’s likely a DNS error, how can you fix it? Since DNS issues can happen at the computer level, as part of a router problem, or as an error with your internet service provider (ISP), you may have to try a few things to pinpoint the cause and find a solution.
Run your Windows Internet Troubleshooter before you do anything else. This wizard works for a variety of issues and may diagnose and resolve DNS errors without your assistance.
-
Right-click on the internet icon in your task tray
-
Select Troubleshoot problems
-
Let the wizard go through all the steps. This may take a few minutes
-
If it doesn’t fix your problem, move on to the solutions below, which are designed for Windows 10 users
1. Rule out ISP issues
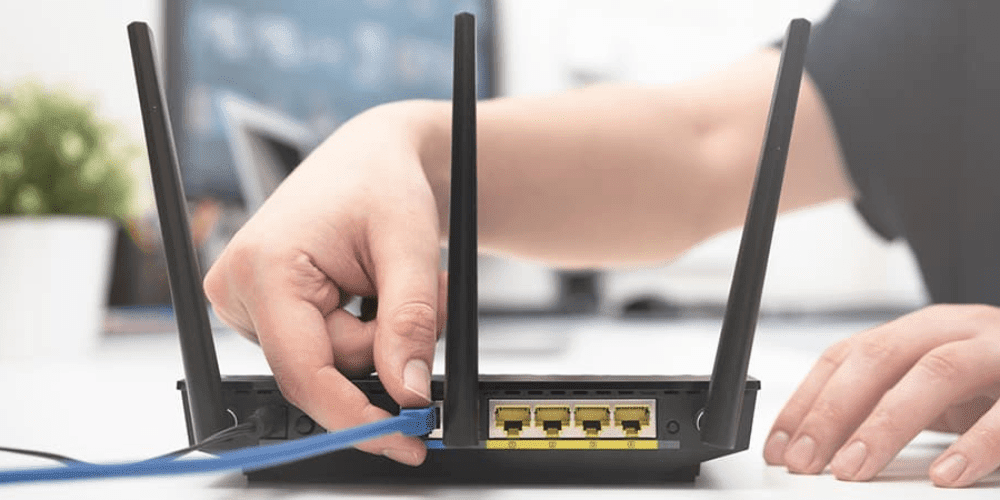
Make sure you’re not dealing with ISP issues by trying to connect with another device. If you can bypass the router and connect directly to your ISP, do so. Use these steps:
-
Look for the WAN or internet port label on the back of your wireless router, and disconnect the cable going into that port
-
Take the free end of this same cable and plug it directly into the Ethernet port on your computer
-
Turn off the wireless router, so you don’t accidentally connect to it
-
Give your computer a minute or two to recognize the new connection. Be sure you are using an Ethernet or LAN connection, and not your WiFi. You may have to restart your computer for the new settings to take effect
If one of your other devices can connect, it’s not an ISP issue at all. If nothing has changed on your end (settings are all the same) and you cannot connect with any of your devices, contact your ISP to see if they are having service issues.
2. Restart your networking equipment
Have you tried turning off your router? What about your modem? Restart both of these devices, and then restart your computer to see if this resolves your issues. Be sure to wait for a full 2 to 3 minutes between powering off and powering back on for the best results.
3. Flush DNS cache and reset winsock
Many times, this simple process can get you back up and surfing the web again.
-
Type “cmd” in the Windows Start Search bar, and select Open Command Prompt
-
Type the following exactly as written, and hit enter after each line is typed out
ipconfig /flushdns
ipconfig /registerdns
ipconfig /release
ipconfig /renew
NETSH winsock reset catalog
NETSH int ipv4 reset reset.log
NETSH int ipv6 reset reset.log
Exit
4. Perform a clean reboot
Computers get buggy if they run for too long, and a simple restart won’t keep conflicting programs from interfering with one another. Do what’s called a “clean” reboot which will often solve DNS issues because it only allows essential services to run automatically on startup. If DNS problems are caused by software glitches, these steps can help:
-
Push the Win + R keys at the same time
-
In the Run dialog box that comes up, type “msconfig”. Alternately, you can type “msconfig” in the search bar at the bottom of the Windows Start Menu, and select Open for the System Configuration app
-
Click on the Services tab within the System Configuration app
-
Check Hide all Microsoft services
-
Select the Disable all option
-
Click the Apply button, then the OK button to save your preferences
Next, disable applications on startup:
-
Click on the Startup tab
-
Click Open Task Manager
-
Start with the first application, and click on the Disable option next to it. Continue doing this for all applications until they are all disabled
-
Close the application window
-
Restart your computer
-
Go back into the System Configuration App
-
Click on the Services tab
-
One by one, select an application and click to enable it. After you enable each app, see if you can connect to the internet
If you can reconnect after disabling an application, this is the one causing DNS issues. See the documentation for that app for troubleshooting tips.
5. Run the Microsoft LLDP Protocol Driver
Activating this driver may solve your DNS problems. To run it:
-
Press Windows + X keys to open the Quick Link Menu. Select Network Connections. Alternatively, you can click on the internet icon in your task tray to bring up your available networks. Click on Network and Internet Setting link
-
Click Change Connection Properties or Change Adapter Settings
-
In the new window that pops up, right-click on the connect you are using. Select Properties
-
Check the list for Microsoft LLDP Protocol Driver. Make sure the box next to it is checked
-
Click OK to exit
6. Update network adapter driver and reinstall if needed
Has it been a long time since you updated your drivers? This could be causing issues, especially if you have added new hardware to your PC since you bought it. By checking for network adapter driver updates and manually updating them, you may resolve your DNS issues.
To check for driver updates:
-
Type devmgmt into the Windows Start Menu search bar and open the Device Manager app
-
Go to the Network adapters section in the list, and click to expand it
-
Find your network device, and right-click to choose Update driver
-
When prompted, choose Search automatically for updated driver software. This may take a few moments to complete
-
If a driver is available, Windows will install it
-
Restart your computer, and check to see if the DNS error still exists
Check out HP Business Solutions for professional computing needs.
7. Change to public Google DNS servers
Google’s servers are often more reliable and can be used without going through your ISP. You can change your DNS servers to Google’s by changing your Internet Protocol Version 4 (TCP/IPv4) properties:
-
Click on the internet icon in your task tray to bring up your available networks. Click on Network and Internet Setting link
-
Click Change Connection Properties or Change Adapter Settings
-
In the new window, right-click on the connection you are using. Select Properties
-
Choose Internet Protocol Version 4 (TCP/IPv4) from the list, and click the Properties button
-
Choose Use the following DNS server address option
-
Type 8.8.8.8 into the Preferred DNS server fields
-
Type 8.8.4.4 into the Alternate DNS Server fields
-
Click OK to save and exit the TCP/IPv4 window. Click OK to save again to exit the Properties window
8. Check power settings
Energy-saving features may cause wireless adapters to function incorrectly. Adjusting power settings may do the trick and get you back online. Start with these steps:
-
Type Control Panel into the Search box from the Start Menu
-
Click to open the Control Panel
-
Select Hardware & Sound
-
Look for the Power Options category, and then Choose or customize a power plan
-
Click the Change Plan Settings link
-
Click the Change Advanced Power settings link
-
In the new window, find Wireless Adapter Settings. Click to expand
-
Click the Power Saving Mode option to expand
-
Change both On battery and Plugged in to Maximum Performance
-
Click OK to save and exit
What to do if your DNS issues aren’t resolved
If you’ve tried every option on this list and you still can’t get a webpage to load, or if you continue to get DNS alerts, it’s time to reach out to your ISP. No amount of work on your end will fix an internet service outage. Plus, your provider can use your experience to help them pinpoint what’s wrong on their end. Frequent DNS errors are often a sign of trouble at the service level.
DNS errors are frustrating because they keep you from using the internet the way you’d like and are often difficult to figure out. If you don’t have a lot of time to troubleshoot all these steps, consider visiting an HP Service Center for professional assistance. If it’s an issue with your router, for example, they can diagnose it with professional tools and get you back on track in no time.
Recent Posts


Popular Posts


CONTACT US
Call us
- Sales
- 02-3536020
- Technical support
- 1800 294 207
- 6627873344
Mon-Fri 9.00am - 6.00pm
(exc. Public Holidays)
Chat with us
Mon-Fri 9.00am - 6.00pm
(exc. Public Holidays)
Store finder
Locate our stores