Jump to content United States-English
HP.com Home Products and Services Support and Drivers Solutions How to Buy
» contact hp
search:
more options
 
HP invent - logo
business support center  >  technical support - HP Color LaserJet 4700  >  print quality troubleshooting tool

Print Quality Troubleshooting Tool for HP Color LaserJet 4700

Removing print cartridges
» 

Print Quality Home

» site map
» other resources
» frequently asked questions
Printing Procedures
» print PQ troubleshooting pages
» print diagnostics page
Issues on
» cyan test page
» magenta test page
» yellow test page
» black test page
» blank test page
» diagnostics page
» order supplies
» technical support -HP Color LaserJet 4700
Bookmark this Web site
Content starts here

Figure

Step

Figure 1: Printer coverexample

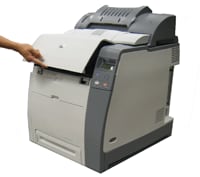
1. Lift the top cover of the printer.

CAUTION:
The fuser might be hot.

Figure 2: Open front coverexample

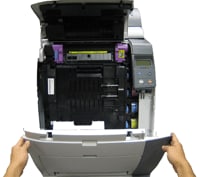
Figure 3: Green handleexample

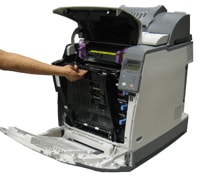
2. Pull down the front cover.

3. Grasp the green handle on the transfer unit.

Figure 4: Transfer unit downexample

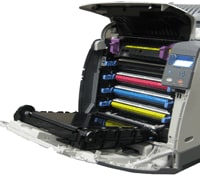
4. Pull down the transfer unit.

CAUTION:
Do not place any item on the transfer unit while it is open. If the transfer unit is punctured, print quality problems could result.

Figure 5: Print cartridgeexample

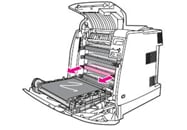
5. Grasp the blue handles on the sides of the print cartridge Picture of the printer cartridge. Clicking this icon will open a new window. which you want to remove and pull to remove the cartridge from the printer.


Printable version
Privacy statement Using this site means you accept its terms
© 2004 Hewlett-Packard Development Company, L.P.