Color Definition: Cyan: ![]() Magenta:
Magenta: ![]()
- Print a copy of this web page and walk over to the printer you are troubleshooting.
- Enter Diagnostics Mode to disable the cartridge check function.
- Press the Menu button
 to enter the MENU on the control panel of the printer.
- Press the Down arrow button
 to highlight DIAGNOSTICS, and then press the OK button
  .
.
- Press the Down arrow button to highlight DISABLE CARTRIDGE CHECK, and then press the OK button .
- The message CHECKING PRINTER displays on the control panel until the printer finishes checking. The printer then returns to the READY ... DIAGNOSTICS MODE.
- Press the Menu button
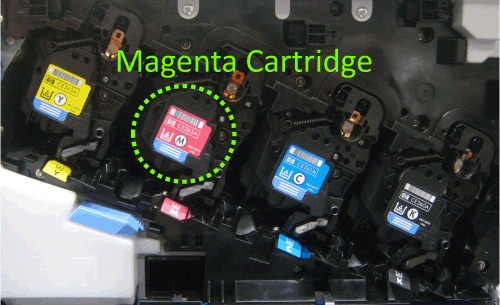
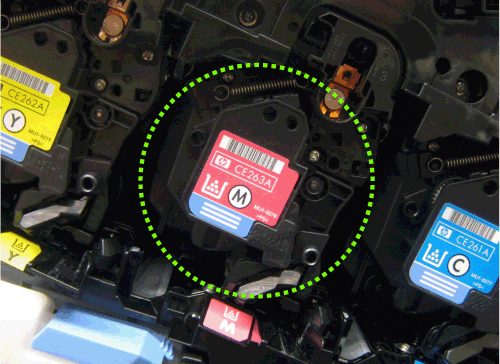
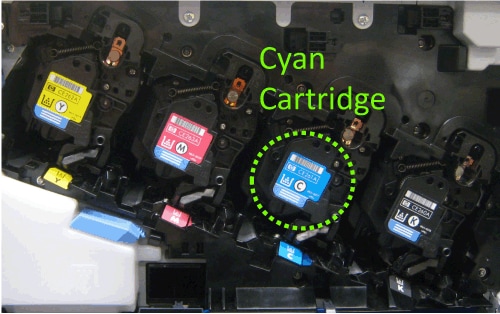
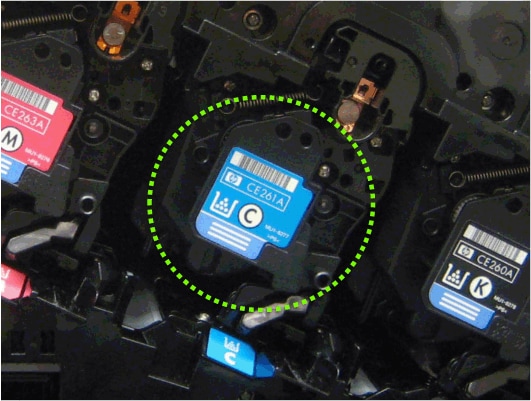
- Swap the magenta (pink) print cartridge
 with the cyan (blue) print cartridge . Show me how.
- Wait until the printer returns to the Ready state. Note that this will take several minutes.
- Print another set of PQ troubleshooting pages. Show me how.
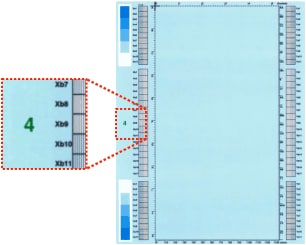
- Look at the center of left margin of the test pages No. 3 and No. 4.
Confirm that test page No. 4 is now cyan, and test page No. 3 is now magenta.
If this is not true, then you may have swapped the wrong cartridges. Repeat Step 3, the cartridge swap procedure. - As illustrated below, if the white vertical line(s) now appear(s) on the magenta test page,
replace the magenta print cartridge with a new magenta print cartridge. Show me how.

- Return the magenta print cartridge to the magenta print cartridge slot, and the magenta print cartridge to the magenta print cartridge slot. Show me how.
- Exit Diagnostic Mode.
- Press the Exit button
 to highlight EXIT DIAGNOSTICS, and then press the OK button .
- The message WAIT FOR PRINTER TO REINITIALIZE displays on the control panel, then the printer starts initializing. Note that this will take several minutes. The printer then returns to READY.
- Press the Exit button